 Together We Can
Ensure Safety

Contact:
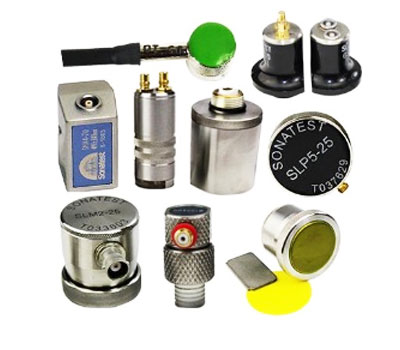
Applied directly to the flat surfaces of the test material or object, this range of single element transducers are commonly used to measure thickness and to detect flaws on plates, bars, forgings, casting and extrusions. Standard ranges of single compression transducers are available with different frequencies and damping specifications to fit the purpose of the application. The crystal and casing dimensions are also important, per example a smaller diameter can be applied to test slightly curved surfaces and the inclusion of a magnet can hold the transducer to ferrous surfaces.
Twin Crystal
A twin compression transducer is a mix between a contact and a delay line because both crystals (P&C) sit on two very thin, slightly angulated wedges facing each other. These are primarily used to measure thickness, detect flaws and corrosion in thin materials, especially where near surface resolution is required. This range is also ideal for use in general and critical weld inspection.
Delay Line
Delay Line transducers transmit and receive sound waves with one element, coupled to the surface as with compression transducers. The crystal is held off from the test piece surface by a delay block, allowing the inspection to be carried out very close to the test piece surface.
Immersion
Immersion transducers are mainly used for mechanised or automatic systems and in principle, operate in the same way as standard contact compression transducers. Immersion applications take place in immersion tanks filled with water, where the test object is placed on a turntable or roller system so that the object is moved at a constant speed past the transducer. Applications include flaw detection in metal or composite parts inspecting bond testing or online thickness gauging, C-scan or B-scan imaging of components.